Denver: Join Us in Voting Yes on 2O
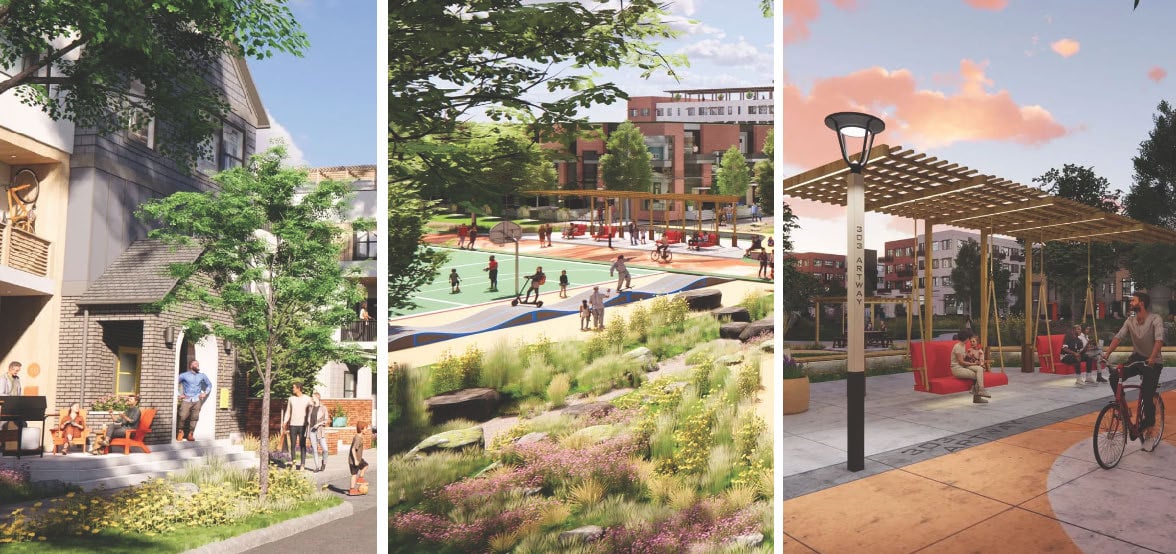
By Heather Lafferty and Stefka Fanchi This April 4th, if Denver voters say vote yes on Ballot Measure 2O, Habitat for Humanity of Metro Denver and Elevation

You’ve probably seen those old 1940s leather topped end tables before in every antique and used furniture store you’ve ever been in. These pieces were $25 at a local Habitat ReStore. Watch them transform, with a little love and elbow grease, into something truly unique and modern, courtesy of upstyling experts, BentWoods Studio!
BentWoods Studio gave these tables a sweet upgrade including a decoupage papered treatment with beaded trim on the table top. BentWoods Studio offers free consultations for customers and you can email for more information at bentwoodsstudio@gmail.com.
Pre-Step 1) Finding the right piece
You want to take something promising and make something wonderful. For most furniture upcyclers, a solid wood piece with interesting lines or decorative elements will lend itself well to the refinishing or painting process. Lots of furniture pieces from the 1930s – 1970s are very well made, often with stunning veneers and hard words hidden under an old and dark finish. The top edge and drawer fronts of these old tables refinished beautifully, allowing the old veneer to shine through. The leather tops were very badly scratched and stained so the tops were finished with a beautiful chrysanthemum paper and the top edge was finished using ebony beads.
Here is the supply list and process for these end tables:
Step 1) Strip the areas that will be refinished wood
Strip the old finish – View our previous blog here for detailed instruction on how to strip a piece of wood furniture. For this project, only the edge of the table tops and the drawer fronts were stripped. Stripping these areas removed the old, dark and faded finish and completely revitalized the tables. I then applied Watco Natural Oil Finish and allowed several hours (follow the directions on the can) for the oil to penetrate. These areas were then given a high-performance flat top-coat to complete.
Step 2) A great paint and finish
Painting the furniture – Use good paint! The vision for the painted areas of these tables was a modern, flat black finish. General Finishes paint works well and they have a great flat black. The tables took 3 light coats of paint, sanding very gently between layers and an additional 2 coats of finish top-coat.
DIY Tip: When using multiple treatments on a piece, go slow, pay attention to drying times and use very good paint brushes, paint and finishing materials. It will pay off in the end resul
Notice the wonderful brass wheels on the bottom of the table. They were cleaned with brasso and look great!
Step 3) Papering the table tops (Oh Boy!)
1. Decoupage – I chose to paper the tops for several reasons. It allowed me to use a very high quality ‘showy’ paper in a vibrant color. The paper almost completely disguised the damage to the leather tops which were stained and scratched badly. I wanted something more WOW than paint. After the process just a hint of the leather texture showed through as shadows and it looked very cool.
2. Follow the instructions on the Mod Podge package – That’s the easiest way to explain how to decoupage paper or fabric onto a surface. These tables turned out so well, that I will definitely be using this skill more in the future. Even though the decoupage medium, Mod Podge, has a durable finish I added a top coat of General Finishes top-coat to ensure the tables would stand up well to usage in a home.
3. Edging with beads – I needed the edging to live up to the paper. I wanted to create a durable, beautiful finish to the edges of the table tops. 3mm glass beds worked perfectly. They came on a durable string and I simply, carefully, laid a line of wood glue and pressed them into the natural indentation on the edge of the table top. Voila! Classy and pretty!
Can’t get enough? See other ReStore DIY furniture projects here.
Step 4) Were you successful?
I always ask myself this question when I’m done with a piece. I was exceptionally proud of these tables as I felt the choices in both color and finish were innovative and bold.
Check out the finished pieces below!
Do you have an old, outdated piece of furniture? Or do you have a desire to DIY? Remember to shop the Habitat ReStores first and let us know of your projects for a chance to be featured on the ReStores social media and blog! Click the button below to see some of the inventory coming into the Habitat Denver ReStores, or if you live elsewhere in the country click here to find your nearest ReStore.